Step 1: Make the class
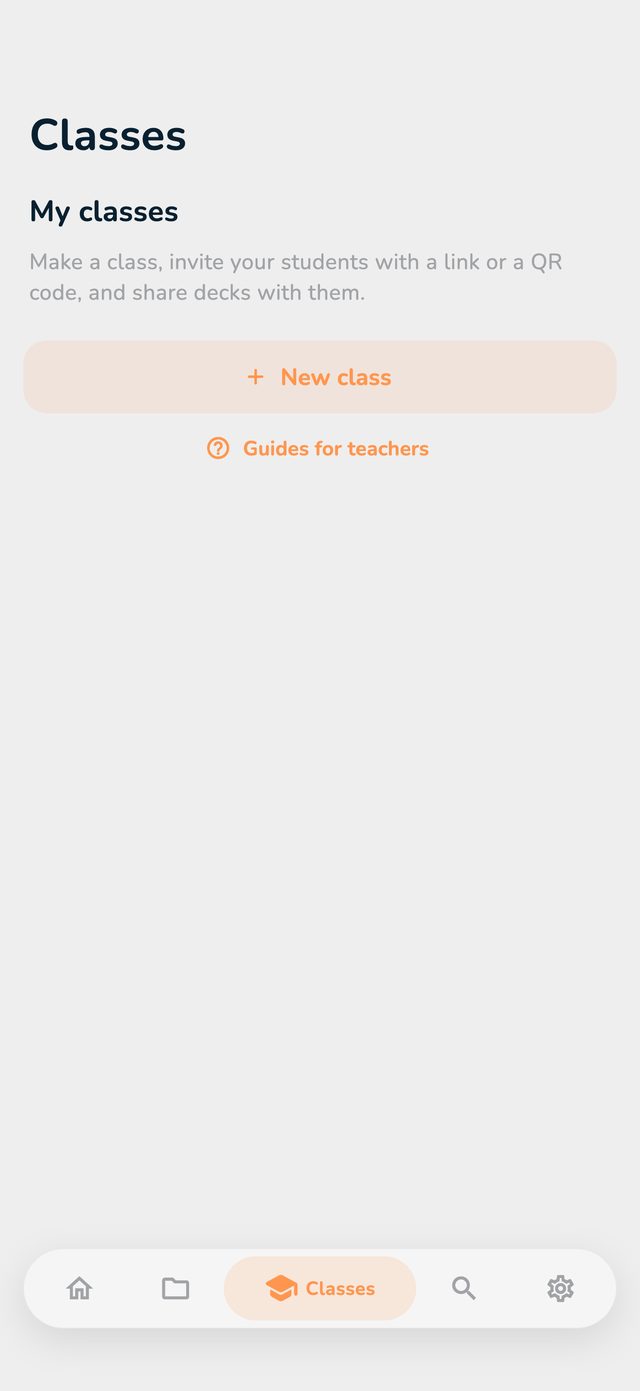
- Tap Classes at the bottom.
- Tap New class.
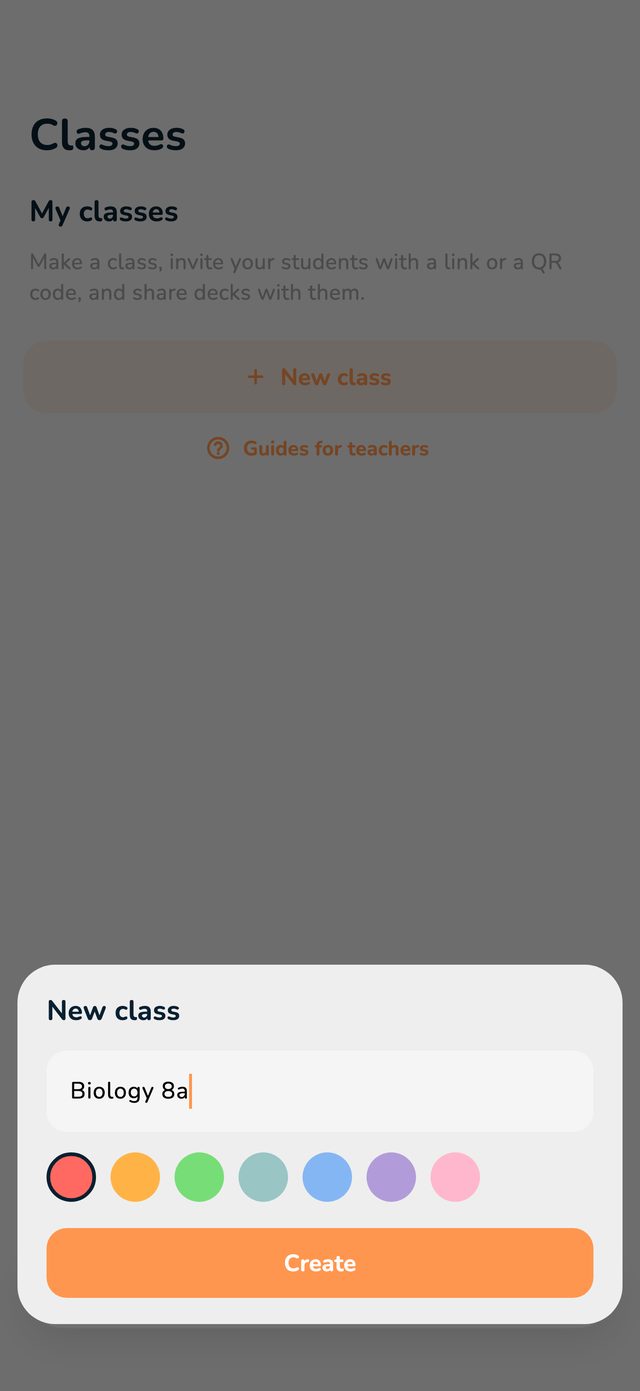
- Type a name, for example “Biology 8a”, and pick a colour.
- Tap Create.
A class is a group of students you share decks with. Your students join in two ways: with their own OutLearn account, or with an anonymous class account you make for them. You choose the way in step 2.
How to read the pictures: the red frame shows what to tap. Its number is the number of the step.
Both work in the same class: for example class accounts for everyone, and students who already have their own account join with it.
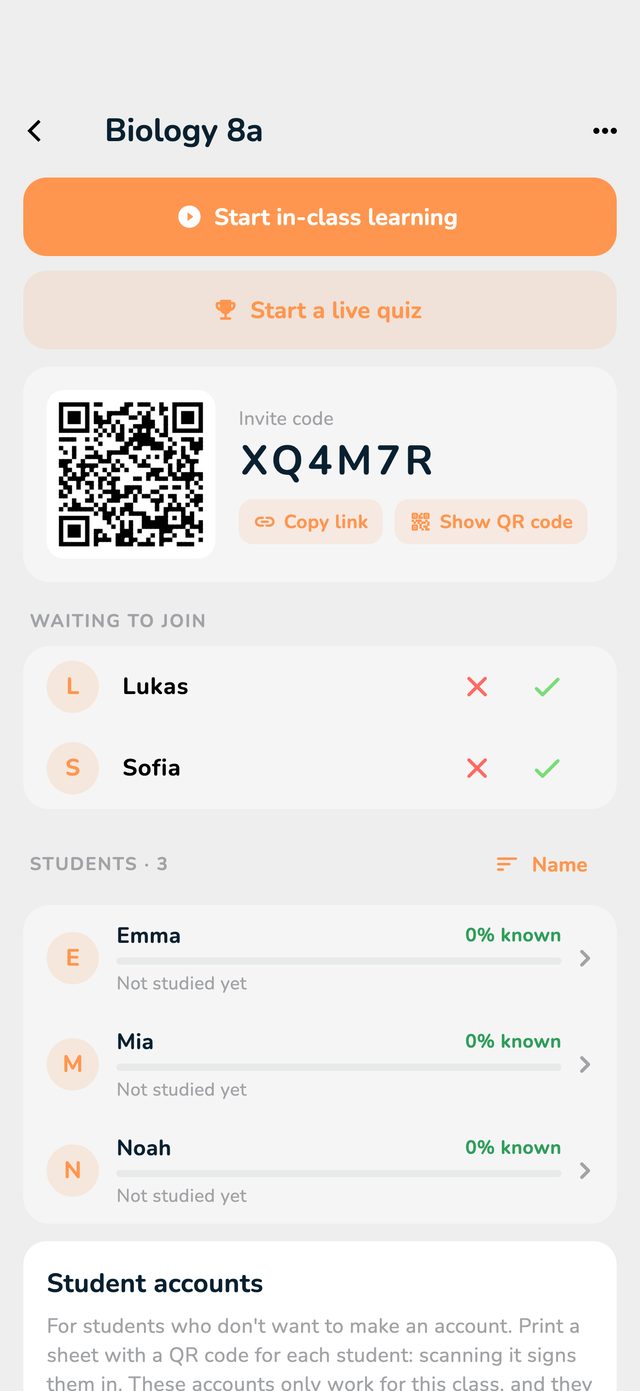
Tap the class. At the top you see the invitation: a QR code and a six-character code.
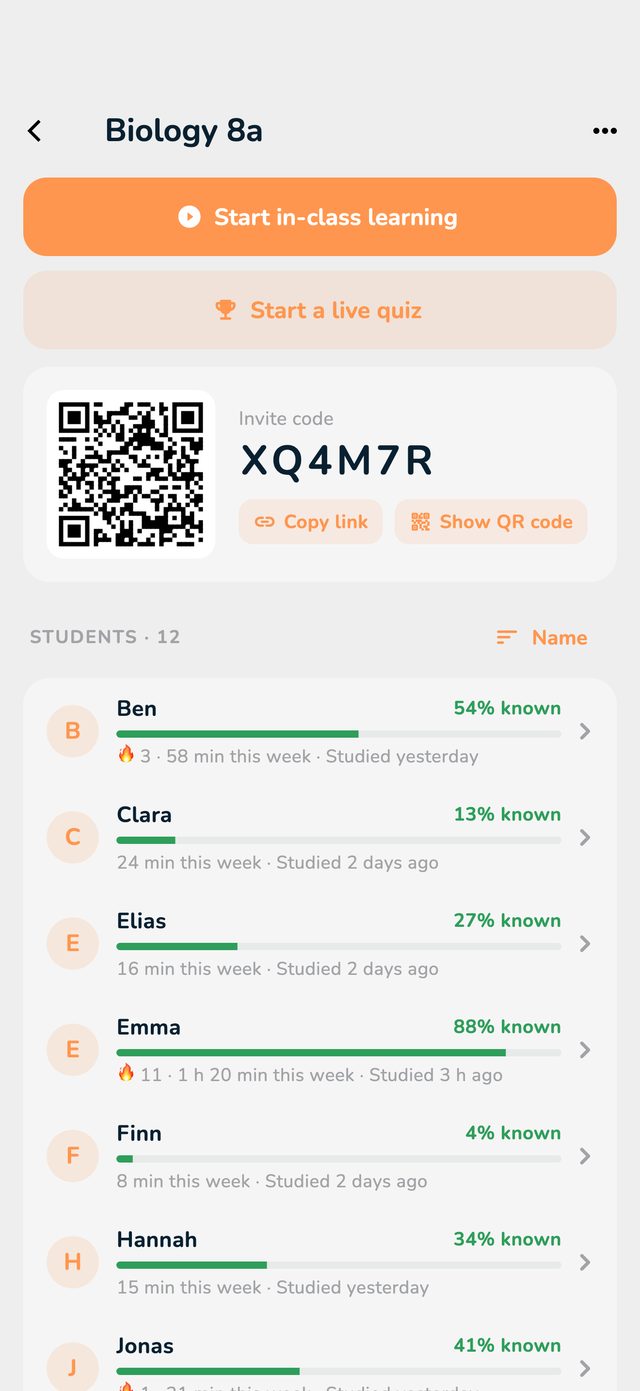
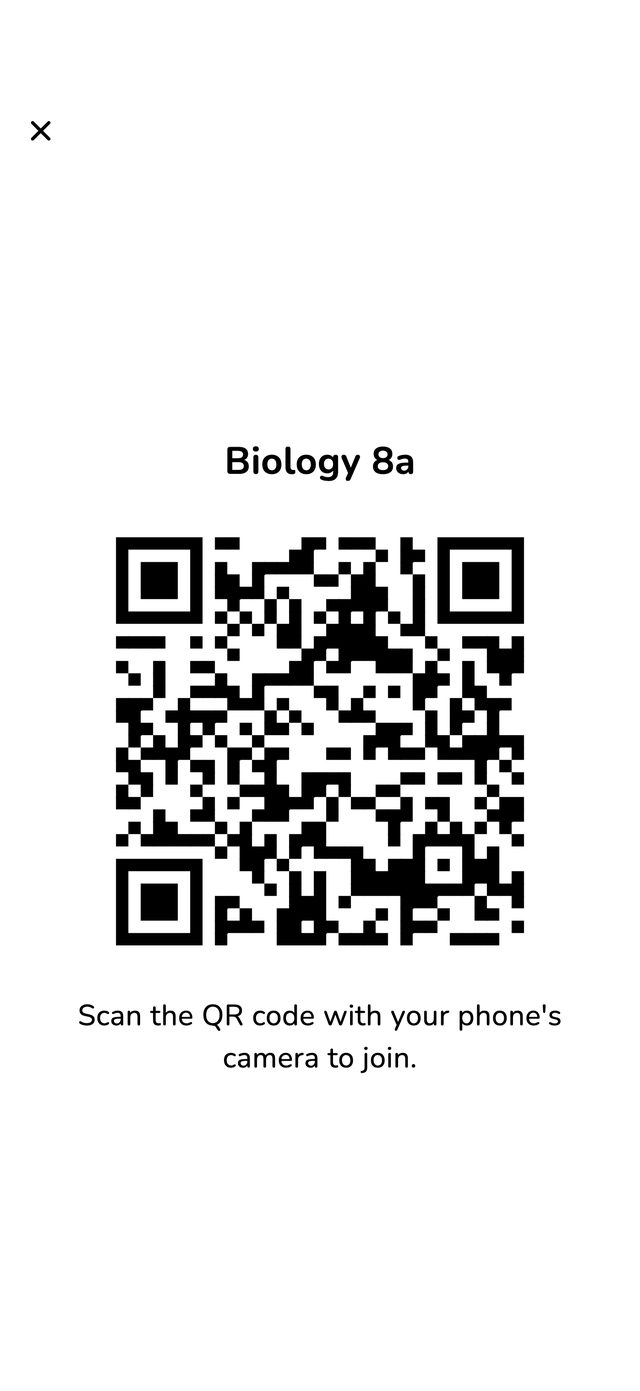
The students have to open the link or scan the QR code: typing the code in the app isn't enough. Students who don't have the app yet land on a page with the links to the App Store and Google Play.
Each student who opens the link taps Ask to join. Their request appears on the class's page under Waiting to join, with the name of their OutLearn account. On the Classes tab, the class then shows for example “2 waiting”.
A class has room for up to 40 students. When it's full, the app says so when you accept.
Did the link end up where it shouldn't? On the class's page, tap ⋯ at the top right, then New invite code. The old code, the old link and the old QR code stop working. Students already in the class stay.
In the same menu, Edit class changes the name and the colour.