← All guides for teachers

Share decks with the class

4 min · Last checked: November 2026

You share decks you already have in OutLearn. Each student gets their own copy and learns it at their own pace. When you change something in your deck later, the change reaches everyone.

No deck yet? How to make one, or bring yours over from Quizlet and Anki, is in the general help.

How to read the pictures: the red frame shows what to tap. Its number is the number of the step.
Step 1: Add the deck

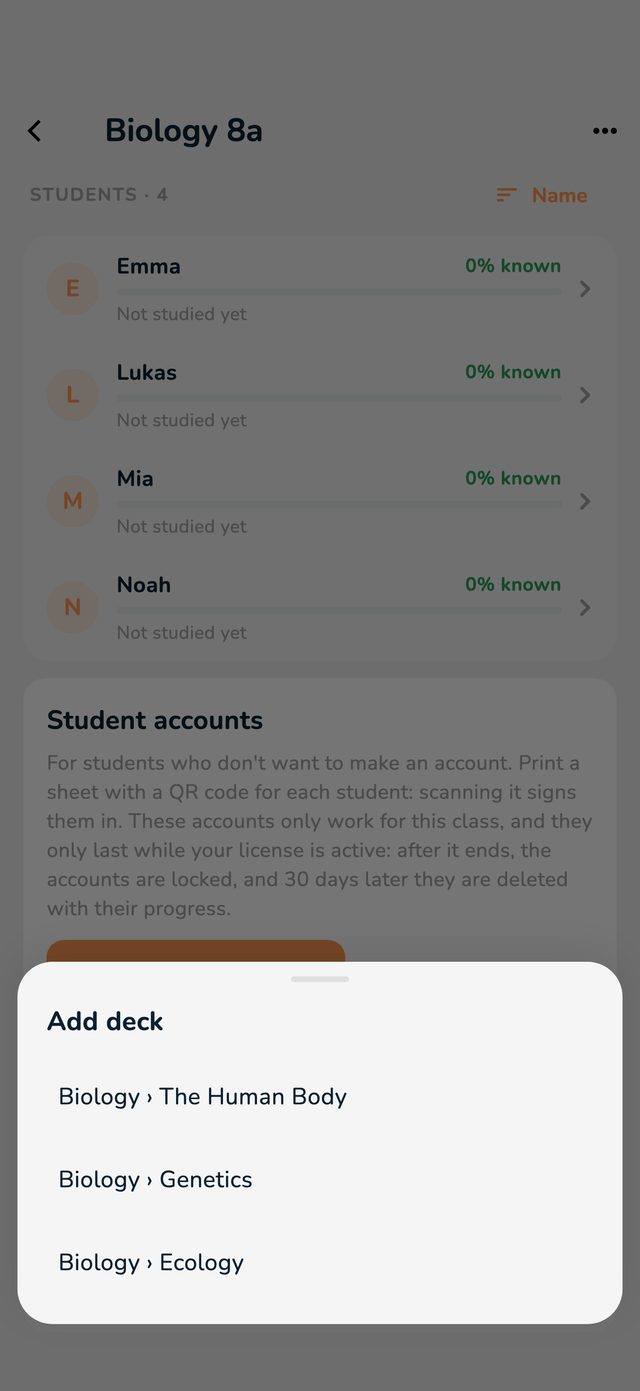
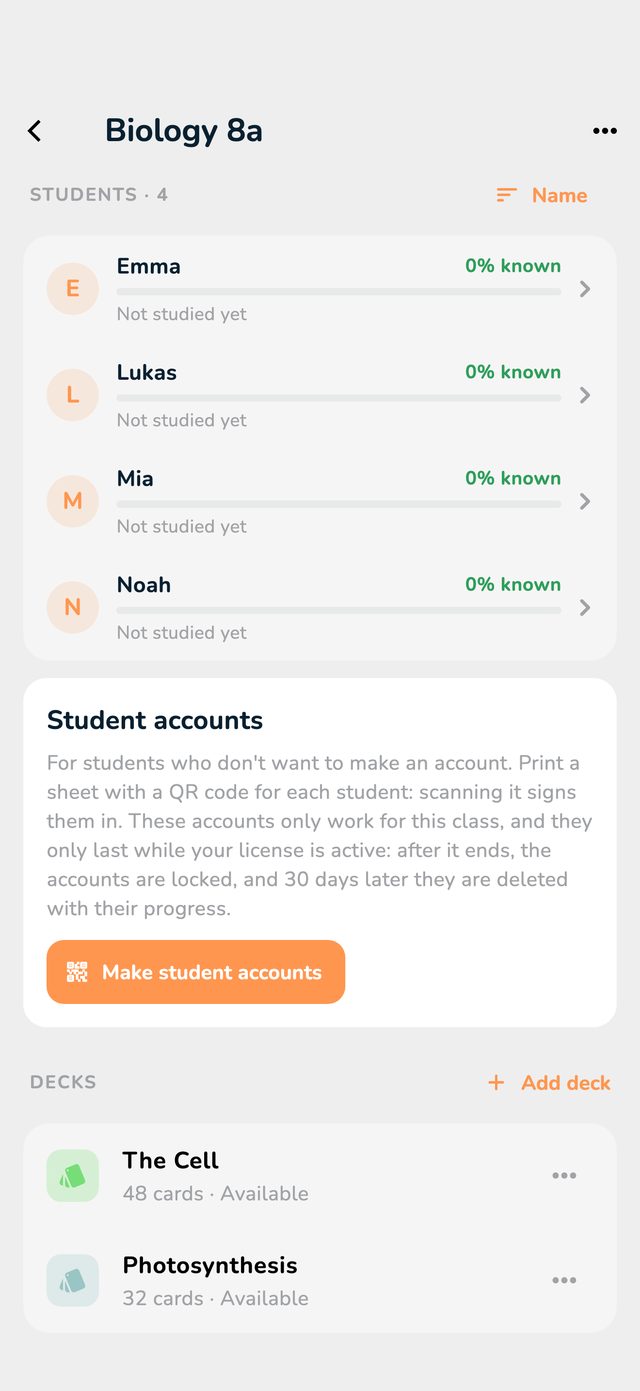
  1. Open the class and scroll to the Decks section.
  2. Tap Add deck.
  3. Tap the deck. The list shows your own decks as “Folder › Deck”.
The Decks section on the class's page
The Add deck list with the teacher's own decks

Step 2: When the students see it

The app asks: When can students see it?

  • Now: the deck reaches the students straight away.
  • Pick a date and time: it only appears then, for example on the morning of the lesson where you start the topic.

What the students get

  • Their own copy in the class's folder, in the app under Folders at the very top, in My classes.
  • Your changes (new cards, corrected answers, name, colour, exam date) reach them a few seconds after you save. Their progress stays.
  • The students can't change the cards. With the pen on a card, they write their own note on it, for example a memory trick. It stays theirs.
  • They can print the deck, even without Pro. They can't export it or pass it on.

Change it or remove it later

Under Decks, tap the deck. Change when it's available sets a new date. Remove from class takes it away from the students: their copy goes to their Recently Deleted.

Once students are learning, the row shows the class average, for example “48 cards · class average 62% known”.